Flexbot design: Difference between revisions
From Rsewiki
No edit summary |
No edit summary |
||
| (4 intermediate revisions by the same user not shown) | |||
| Line 6: | Line 6: | ||
* Two linear actuators to control the motion of the robot's body. | * Two linear actuators to control the motion of the robot's body. | ||
* A linear actuator to adjust heading angle on the wheel. | * A linear actuator to adjust heading angle on the wheel. | ||
Each of the legs are interfaced and controlled by | Each of the legs are interfaced and controlled by μ-processor boards (Teensy 3.5). | ||
Each leg is split up in two parts which are presented as the [[#Ankle hardware design|ankle configuration]] and the [[#Knee hardware design|knee configuration]]. The hardware design for robot's body is presented [[#Body hardware design|here]]. | Each leg is split up in two parts which are presented as the [[#Ankle hardware design|ankle configuration]] and the [[#Knee hardware design|knee configuration]]. The hardware design for robot's body is presented [[#Body hardware design|here]]. | ||
| Line 16: | Line 16: | ||
[[File:tube_geometry.png]] | [[File:tube_geometry.png]] | ||
Figure 1. Basic geometry. | Figure 1. Basic geometry for both upper and lower leg. | ||
---- | |||
--[[User:Jca|Jca]] ([[User talk:Jca|talk]]) 13:01, 9 June 2018 (CEST) | |||
Latest revision as of 12:01, 9 June 2018
Back to Flexbot main page
Design overview hardware
Each "leg" of the flexbot consists of 4 actuators.
- An angled DC motor to control the wheel.
- Two linear actuators to control the motion of the robot's body.
- A linear actuator to adjust heading angle on the wheel.
Each of the legs are interfaced and controlled by μ-processor boards (Teensy 3.5). Each leg is split up in two parts which are presented as the ankle configuration and the knee configuration. The hardware design for robot's body is presented here.
A complete 3D model of the robot is available using the online CAD software Onshape.com - JCA should be contacted for sharing and editing the model.
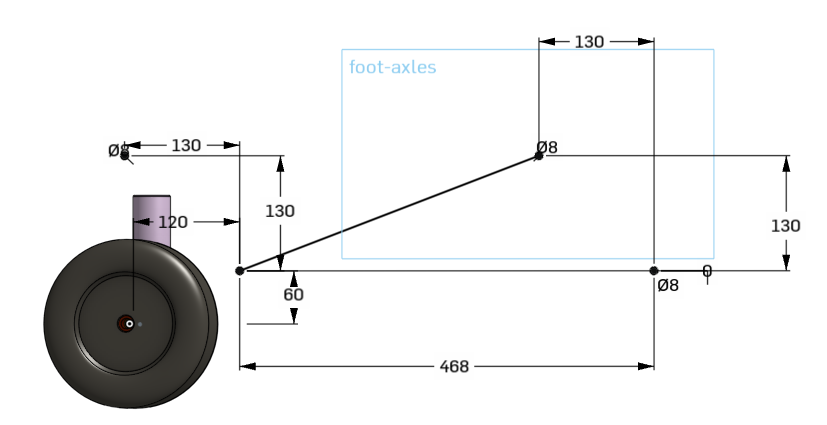
Each leg part is connected with a two parallel stretches (mostly carbon tubes), each 4 carbon tubes, from foot to knee and from knee to hip (see also Flexbot 3D print).
Figure 1. Basic geometry for both upper and lower leg.
