Importing models from OnShape: Difference between revisions
No edit summary |
No edit summary |
||
| Line 17: | Line 17: | ||
In the right corner of the OnShape editing window a cube to control our 3D view can be seen. In the navigation bar at the top part of the screen two buttons are available [App Store] [Share]. Press the share button to find the link necessary for importing the model in to Simscape. | In the right corner of the OnShape editing window a cube to control our 3D view can be seen. In the navigation bar at the top part of the screen two buttons are available [App Store] [Share]. Press the share button to find the link necessary for importing the model in to Simscape. | ||
[[File:ModelOnshape-g2.png|700px]] | |||
A new window will appear. In this window 4 menus are available [Individuals] [Public] [Application] [Link]. Press the link button and copy the ''Document link:'' to your clipboard. | A new window will appear. In this window 4 menus are available [Individuals] [Public] [Application] [Link]. Press the link button and copy the ''Document link:'' to your clipboard. | ||
[[File:ModelOnshape-g4.png|700px]] | |||
Access your MATLAB terminal and run the following command to import the OnShape model to MATLAB: | Access your MATLAB terminal and run the following command to import the OnShape model to MATLAB: | ||
[[File:ModelOnshape-g5.png|700px]] | |||
After running the code, a window should appear asking for OnShape credentials. Type in your OnShape account credentials. The import will happen as soon as your account is verified with OnShape. | After running the code, a window should appear asking for OnShape credentials. Type in your OnShape account credentials. The import will happen as soon as your account is verified with OnShape. | ||
[[File:ModelOnshape-g6.png|700px]] | |||
After verifying and importing the 3D model you should see 4 new files in your workspace. The files are the individual 3D objects with the .step file-extension and a file with a .xml file-extension describing how the individual models are assembled, their physical and material properties. The number of .step files will change with different projects, but there should always be 1 .xml file generated for every time you import a project. | After verifying and importing the 3D model you should see 4 new files in your workspace. The files are the individual 3D objects with the .step file-extension and a file with a .xml file-extension describing how the individual models are assembled, their physical and material properties. The number of .step files will change with different projects, but there should always be 1 .xml file generated for every time you import a project. | ||
[[File:ModelOnshape-g7.png|700px]] | |||
The last step is to run the following command to translate the .xml file to a Simscape object: | The last step is to run the following command to translate the .xml file to a Simscape object: | ||
[[File:ModelOnshape-g8.png|700px]] | |||
The command automatically open a new Simulink window with the blocks from OnShape translated to Simscape | The command automatically open a new Simulink window with the blocks from OnShape translated to Simscape | ||
[[File:ModelOnshape-g9.png|700px]] | |||
Opening the Mechanics Explorer window will reveal the model in Simulink's own 3D object viewer. The explorer together with the Simscape block diagram can be used to verify that the model was imported correctly. This concludes the OnShape to Simscape import section. | Opening the Mechanics Explorer window will reveal the model in Simulink's own 3D object viewer. The explorer together with the Simscape block diagram can be used to verify that the model was imported correctly. This concludes the OnShape to Simscape import section. | ||
[[File:ModelOnshape-g10.png|700px]] | |||
Revision as of 10:19, 9 August 2017
MATLAB 2017a+ includes functions to import 3D models from the browser based CAD modelling tool OnShape[1]. This functionality helps importing mechanical 3D objects for further analysis in a MATLAB/Simscape environment. This page will give an overview and a guide on how to import objects from OnShape to MATLAB.
For a quick overview of the two commands necessary to import from Onshape to Simscape can be seen here:
smexportonshape("link")
smimport(".xml")
The mechanical joints in OnShape and the joints in Simscape have different names but share attributes. An overview of OnShape joints and Simscape joints can be seen in the image below.
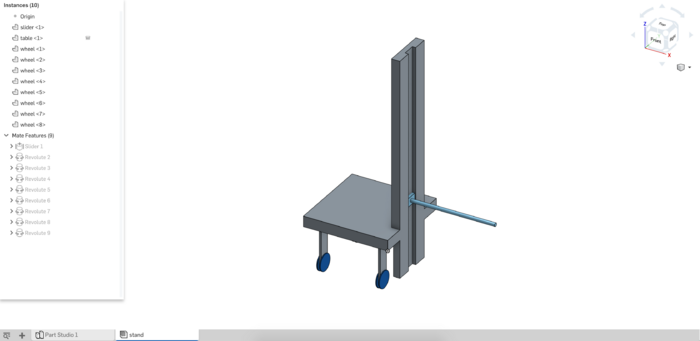
In this guide the following model will be used. The 3D model can be accessed through here [2]. The model consists of multiple different joints. We will see how the in-built OnShape functions will automatically register and convert the joints in to the Simscape environment.
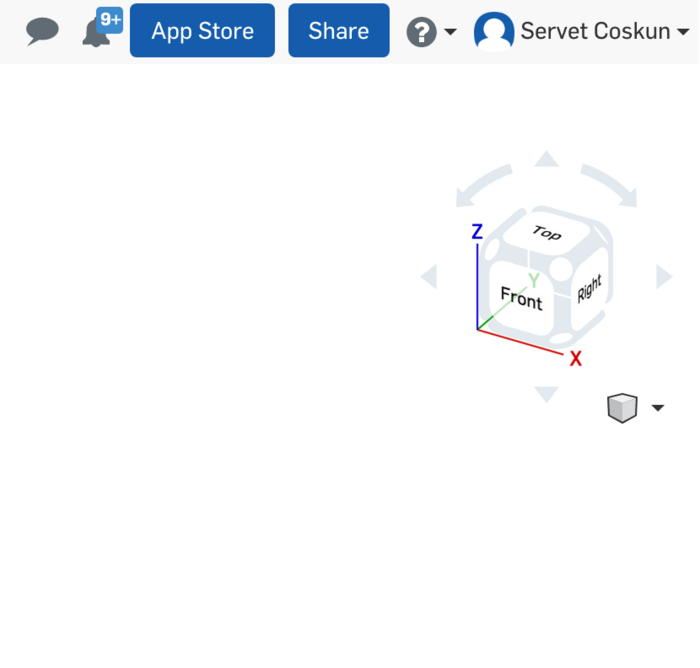
In the right corner of the OnShape editing window a cube to control our 3D view can be seen. In the navigation bar at the top part of the screen two buttons are available [App Store] [Share]. Press the share button to find the link necessary for importing the model in to Simscape.
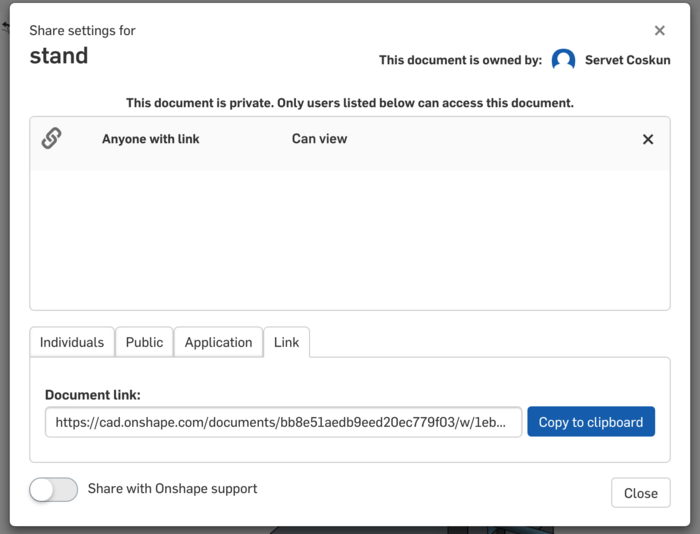
A new window will appear. In this window 4 menus are available [Individuals] [Public] [Application] [Link]. Press the link button and copy the Document link: to your clipboard.
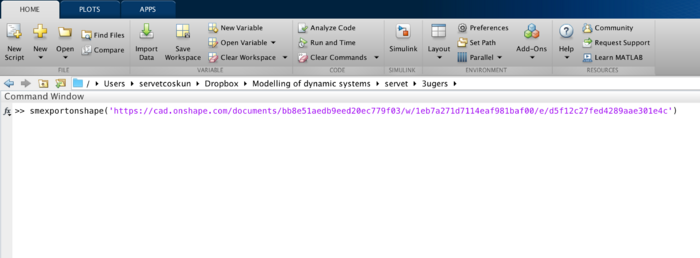
Access your MATLAB terminal and run the following command to import the OnShape model to MATLAB:
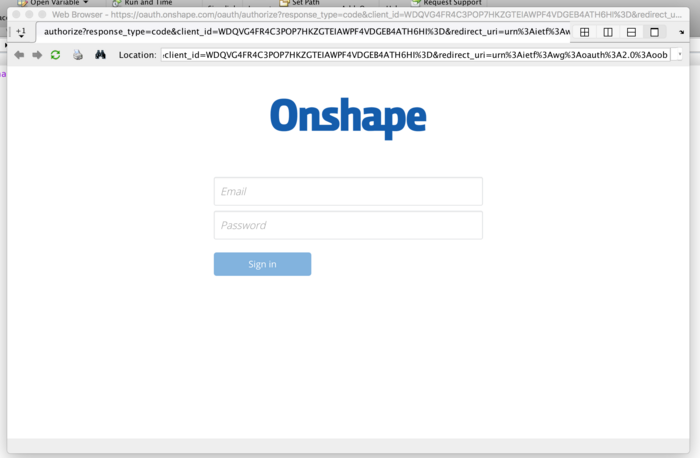
After running the code, a window should appear asking for OnShape credentials. Type in your OnShape account credentials. The import will happen as soon as your account is verified with OnShape.
After verifying and importing the 3D model you should see 4 new files in your workspace. The files are the individual 3D objects with the .step file-extension and a file with a .xml file-extension describing how the individual models are assembled, their physical and material properties. The number of .step files will change with different projects, but there should always be 1 .xml file generated for every time you import a project.
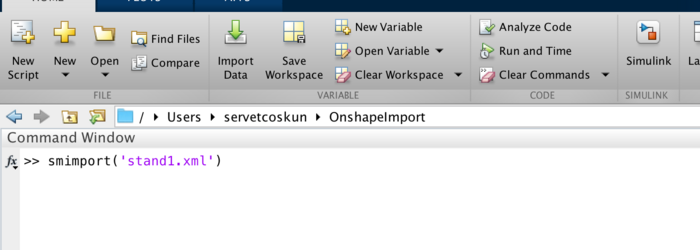
The last step is to run the following command to translate the .xml file to a Simscape object:
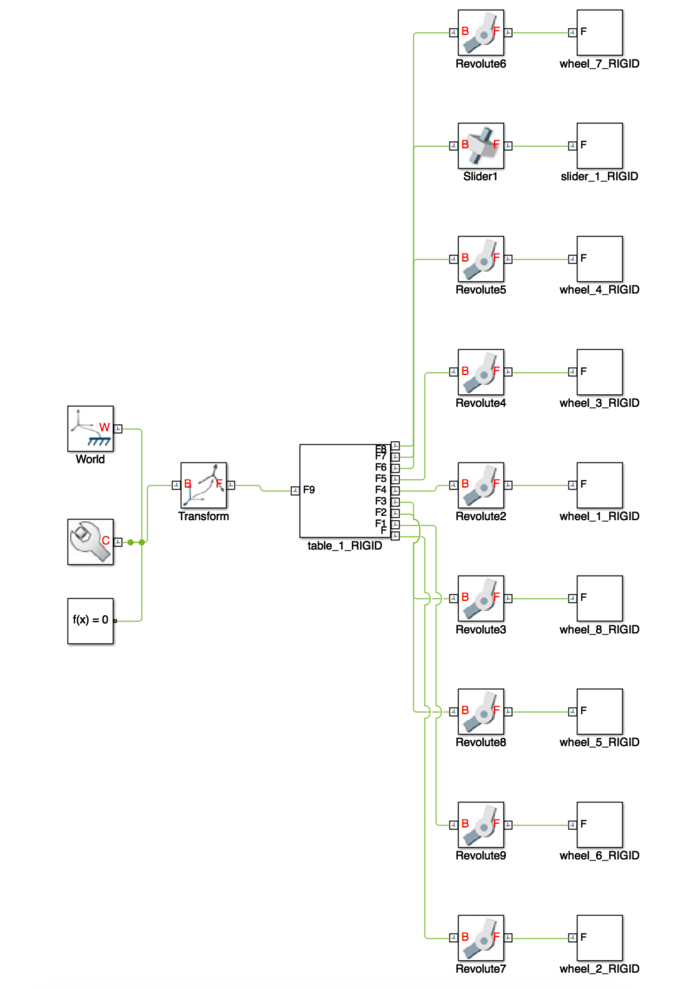
The command automatically open a new Simulink window with the blocks from OnShape translated to Simscape
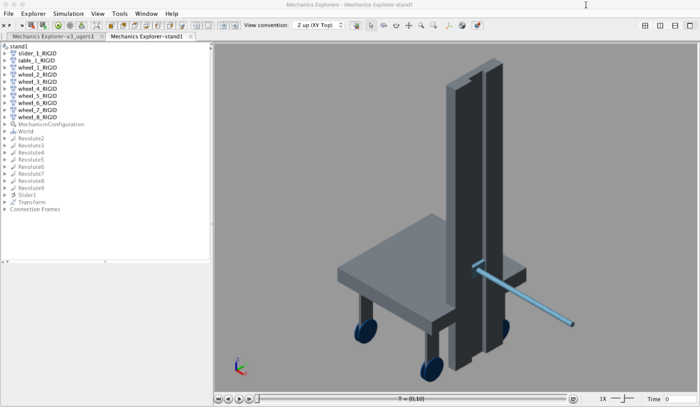
Opening the Mechanics Explorer window will reveal the model in Simulink's own 3D object viewer. The explorer together with the Simscape block diagram can be used to verify that the model was imported correctly. This concludes the OnShape to Simscape import section.

