ASTA motion capture: Difference between revisions
From Rsewiki
No edit summary |
|||
| Line 1: | Line 1: | ||
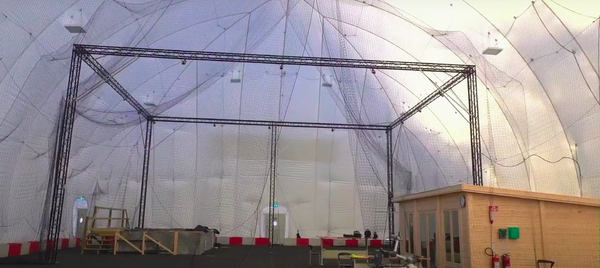
[[File:Optitrack.png|600px]] | |||
[ | == Specs == | ||
* Covered area: 16 m x 12 m | |||
* Accuracy: < 5 mm | |||
* Number of cameras: 16 | |||
* Camera type: [https://optitrack.com/cameras/prime-17w/ Prime 17W] | |||
== Usage == | == Usage == | ||
=== Power on === | |||
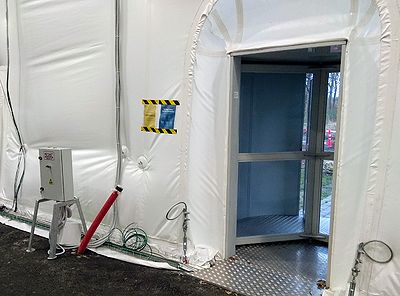
* Depending on the lighting conditions, switch on the reflectors. The switch stands on the right-hand side after entering through the rotating door. | |||
[[File:ASTA Reflectors.jpg|400px]] | |||
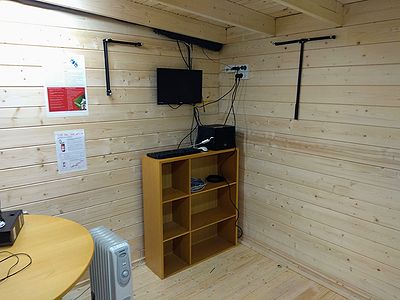
* Find the motion capture computer located in the central shed, and turn it on by pressing on the "cooling master" logo. | |||
[[File:ASTA_Optitrack_Computer.jpg|400px]] | |||
* Plugin the green plug to power on the two network switch and the 16 cameras. | |||
=== Calibration === | |||
* Start the Motive software. | |||
=== ROS client === | === ROS client === | ||
Revision as of 23:55, 30 January 2021
Specs
- Covered area: 16 m x 12 m
- Accuracy: < 5 mm
- Number of cameras: 16
- Camera type: Prime 17W
Usage
Power on
- Depending on the lighting conditions, switch on the reflectors. The switch stands on the right-hand side after entering through the rotating door.
- Find the motion capture computer located in the central shed, and turn it on by pressing on the "cooling master" logo.
- Plugin the green plug to power on the two network switch and the 16 cameras.
Calibration
- Start the Motive software.
ROS client
In case the system needs to be reassembled
Mount cameras on joints and joints on clamps
Make sure that the camera is not upside-down.
Prepare 16 safety ropes to prevent accidental camera drops
- Cut to 1 m length
- Use a lighter at both ends
- prepare 8-knots as in rock climbing
Mount cameras on truss and wire them with the two switches
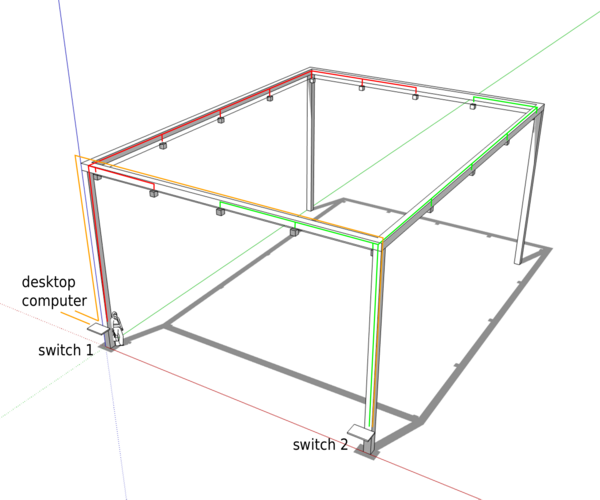
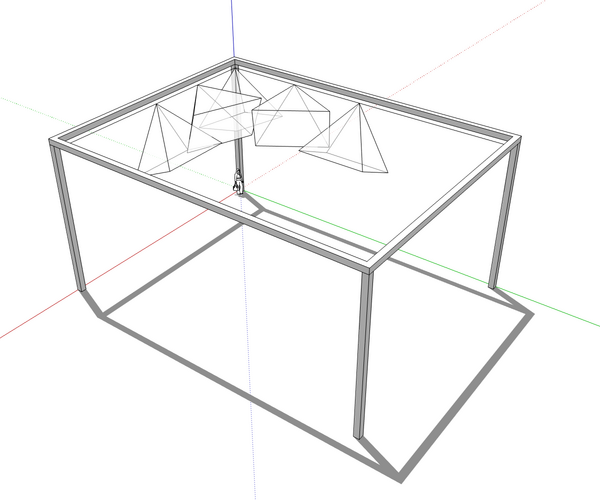
Mount the 16 cameras in the corners and at each 1/4 of the edges. Use the safety ropes, and wire them to the two switches as below.
Orient cameras and adjust focus
Once the setup is up-and-running, adjust the focus of each camera using a marker at 2/3 of the working distance. Use a remote desktop app and ethernet connection.
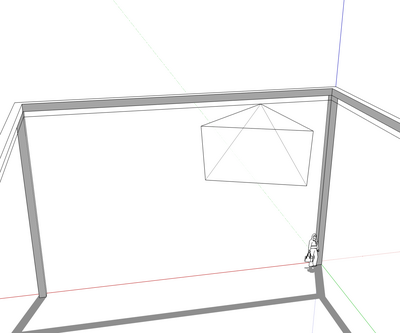
- In the corners: the bottom of FoV is parallel to the long edges, and the bottom right corner is vertical.
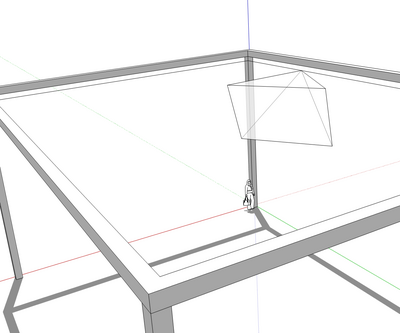
- At 1/4 of a short: the top of the FOV is horizontal, and the camera points toward the center.
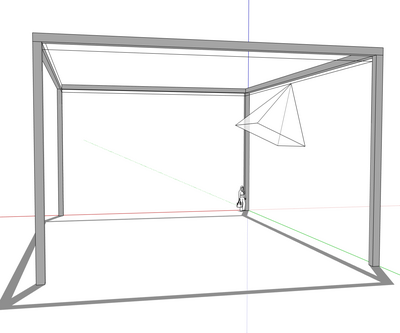
- At 1/2 of a short edge: the bottom of the FOV is vertical, and the camera aims downward.
- At 1/4 of a long edge: the top of the FOV is horizontal, and the camera points toward the center.
- At 1/2 of a long edge: the bottom of the FOV is vertical, and the camera aims downward.
