ASTA motion capture: Difference between revisions
| Line 29: | Line 29: | ||
=== Daily calibration === | === Daily calibration === | ||
1. Start Motive. | |||
| Line 35: | Line 35: | ||
2. Make sure that no reflectors (or reflecting surfaces) are present in the capture volume. | |||
[[File:ASTA Motive Wanding.png|600px]] | |||
3. Find the calibration pane on the left-hand side | |||
4. Press "Clear Mask" | |||
5. Press "Mask Visible" | |||
6. Press "Start Wanding" | |||
''' If the | ''' If the number of cameras listed under "Wanding" doesn't total to 16 (the numbering doesn't matter), restart Motive and repeat steps 3-6. ''' | ||
7. Find the calibration wand hanging on the right-hand side of the computer. | |||
8. Walk the wand through the capture volume at a speed of 1 m/s. Draw a circle right above the surface of the pool. | |||
[[File: | |||
[[File:ASTA_Optitrack_Calibration_Pool.jpg|600px]] | |||
9. Draw another circle right above the ground on the remaining area. | |||
[[File:ASTA_Optitrack_Calibration_Low.jpg|600px]] | |||
10. Draw a third circle higher up. | |||
[[File:ASTA_Optitrack_Calibration_High.jpg|600px]] | |||
11. Walk back to the central shed, hang the wand where it was, come back to the motion capture computer, and press "Calculate". The result should be at least "Great", and ideally, "Exceptional". | |||
[[File:Exceptional.png|600px]] | |||
12. If it is the case, press "Apply". Otherwise, repeat steps 6-11. | |||
''' If the calibration keeps being insufficient, restart Motive and repeat steps 3-11''' | |||
=== ROS client === | === ROS client === | ||
Revision as of 21:42, 1 February 2021
Specs
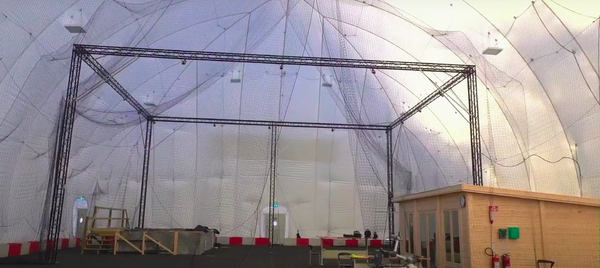
- Covered area: 16 m x 12 m
- Accuracy: < 5 mm
- Repetability: < 1 mm
- Number of cameras: 16
- Camera type: Prime 17W
Usage
Power on
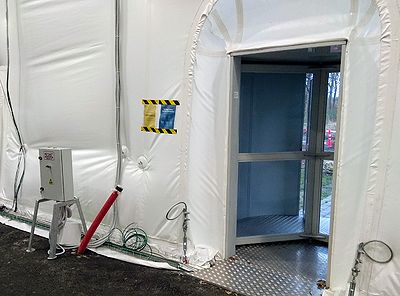
- Depending on the lighting conditions, switch on the reflectors. The switch stands on the right-hand side after entering through the rotating door.
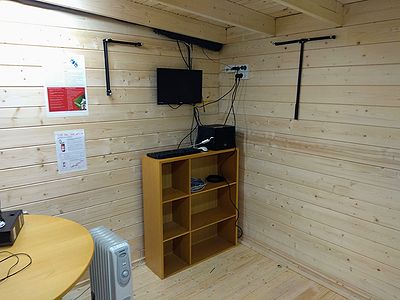
- Find the motion capture computer in the central shed, and turn it on by pressing on the "cooling master" logo.
- Plugin the green plug laying on the computer's frame.
Daily calibration
1. Start Motive.
2. Make sure that no reflectors (or reflecting surfaces) are present in the capture volume.
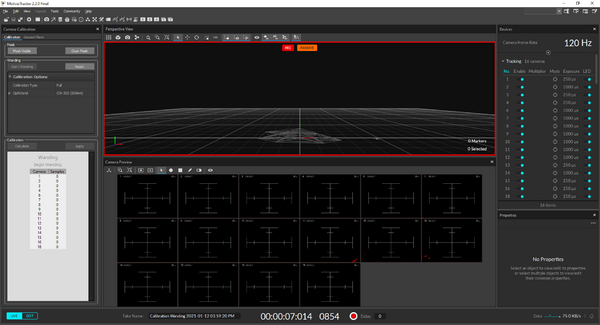
3. Find the calibration pane on the left-hand side
4. Press "Clear Mask"
5. Press "Mask Visible"
6. Press "Start Wanding"
If the number of cameras listed under "Wanding" doesn't total to 16 (the numbering doesn't matter), restart Motive and repeat steps 3-6.
7. Find the calibration wand hanging on the right-hand side of the computer.
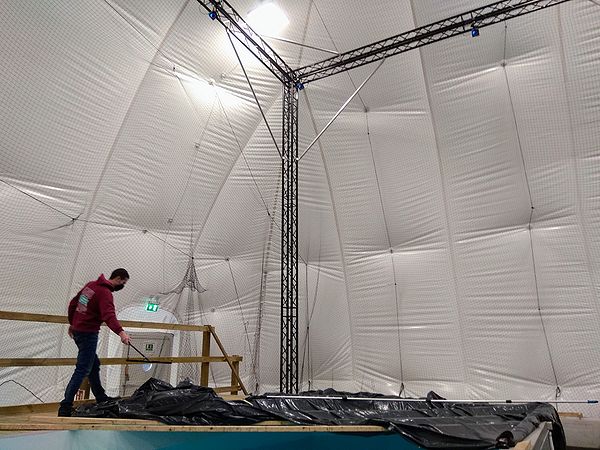
8. Walk the wand through the capture volume at a speed of 1 m/s. Draw a circle right above the surface of the pool.
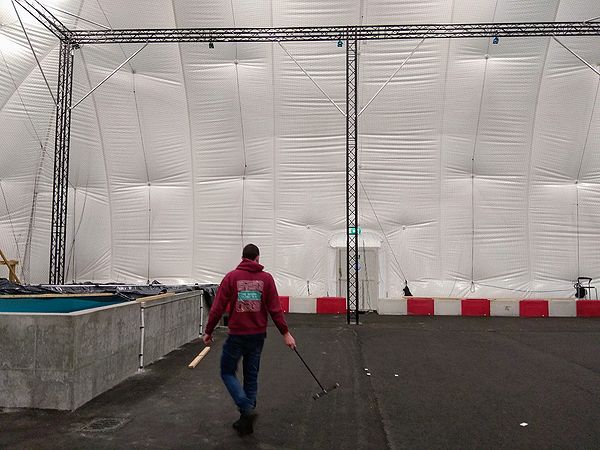
9. Draw another circle right above the ground on the remaining area.
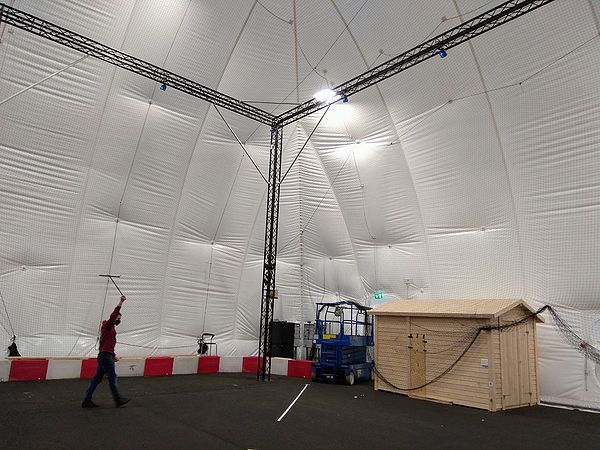
10. Draw a third circle higher up.
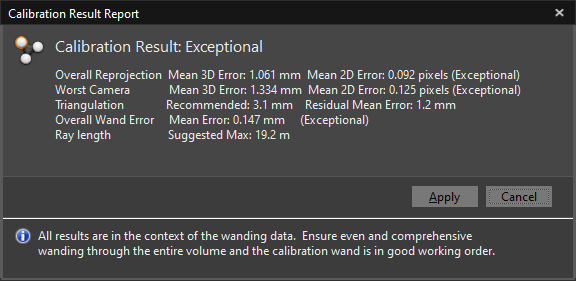
11. Walk back to the central shed, hang the wand where it was, come back to the motion capture computer, and press "Calculate". The result should be at least "Great", and ideally, "Exceptional".
12. If it is the case, press "Apply". Otherwise, repeat steps 6-11.
If the calibration keeps being insufficient, restart Motive and repeat steps 3-11
ROS client
In case the system needs to be reassembled
Mount cameras on joints and joints on clamps
Make sure that the camera is not upside-down.
Prepare 16 safety ropes to prevent accidental camera drops
- Cut to 1 m length
- Use a lighter at both ends
- prepare 8-knots as in rock climbing
Mount cameras on truss and wire them with the two switches
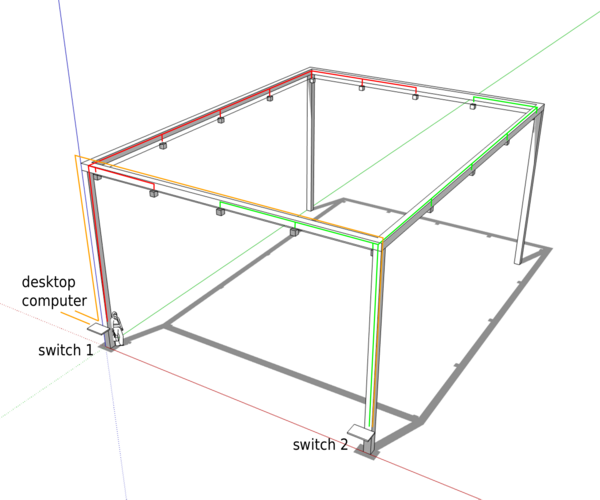
Mount the 16 cameras in the corners and at each 1/4 of the edges. Use the safety ropes, and wire them to the two switches as below.
Orient cameras and adjust focus
Once the setup is up-and-running, adjust the focus of each camera using a marker at 2/3 of the working distance. Use a remote desktop app and ethernet connection.
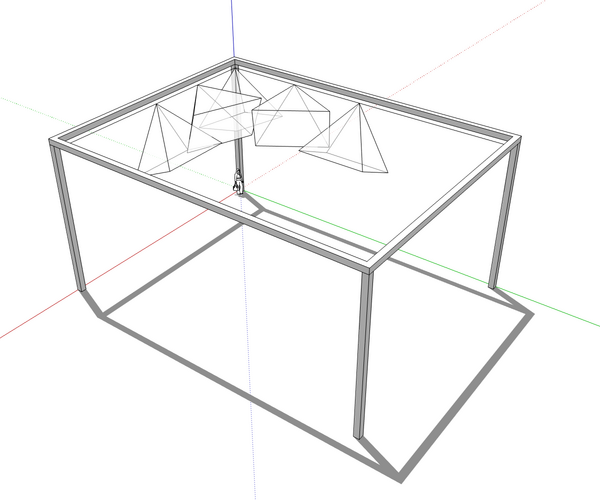
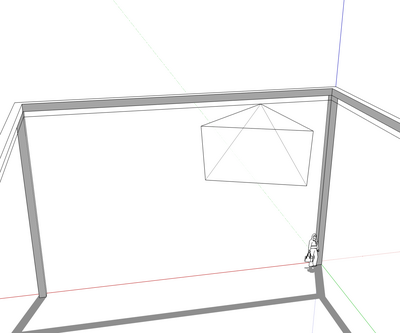
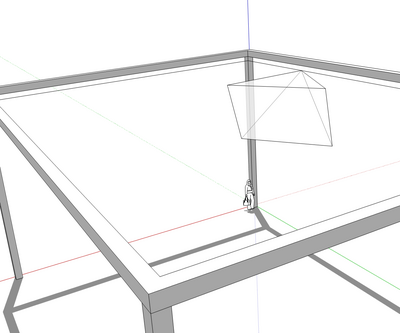
- In the corners: the bottom of FoV is parallel to the long edges, and the bottom right corner is vertical.
- At 1/4 of a short: the top of the FOV is horizontal, and the camera points toward the center.
- At 1/2 of a short edge: the bottom of the FOV is vertical, and the camera aims downward.
- At 1/4 of a long edge: the top of the FOV is horizontal, and the camera points toward the center.
- At 1/2 of a long edge: the bottom of the FOV is vertical, and the camera aims downward.
