Compile and upload code: Difference between revisions
From Rsewiki
No edit summary |
|||
| Line 12: | Line 12: | ||
[[file:MS_Visual_studio_code_1.png | 500px]] | [[file:MS_Visual_studio_code_1.png | 500px]] | ||
Connect the robot using a USB. Turning on the robot is not strictly needed, as the USB will provide sufficient power to make the upload. | |||
Use the PlatformIO -> PROJECT TASKS -> teensy 4.1 -> General -> Upload and Monitor | |||
This should open the loader app, find the correct USB port, upload the code and start the serial monitor. | |||
[[File: MS_Visual_studio_code_upload.png | 500px]] | |||
Note that at the bottom, there are two lines from the robot (marked in blue), something like: | |||
% Robot 52 Adriana (PCB version 6.3) | |||
% UImu2:: gyro offset: 2.20459 -0.896149 0.737335 | |||
This indicates that the firmware is running (and that the gyro is calibrated). | |||
Revision as of 11:39, 1 September 2024
Back to Basebot.
Compile the code
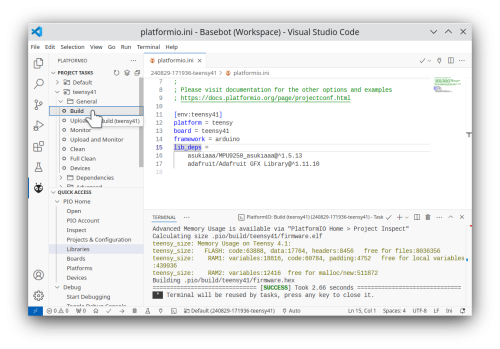
Use the PlatformIO -> PROJECT TASKS -> teensy 4.1 -> General -> build to compile the project.
It should now compile with a "SUCCESS" result, something like the one shown here:
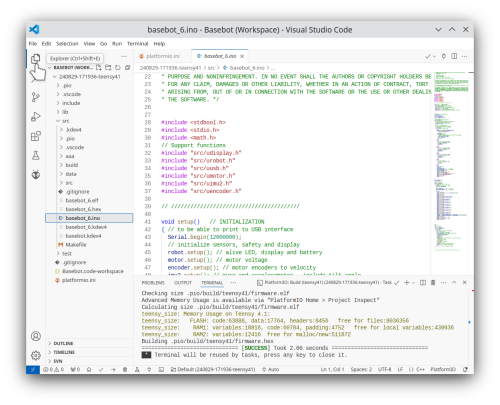
Click on the "explorer" and find the source code:
Connect the robot using a USB. Turning on the robot is not strictly needed, as the USB will provide sufficient power to make the upload.
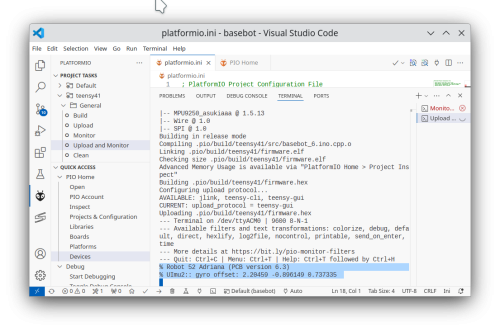
Use the PlatformIO -> PROJECT TASKS -> teensy 4.1 -> General -> Upload and Monitor
This should open the loader app, find the correct USB port, upload the code and start the serial monitor.
Note that at the bottom, there are two lines from the robot (marked in blue), something like:
% Robot 52 Adriana (PCB version 6.3)
% UImu2:: gyro offset: 2.20459 -0.896149 0.737335
This indicates that the firmware is running (and that the gyro is calibrated).


